Regardless of whether you’re learning or re-learning CAD, it’s important to understand the concepts of model and paper space.
Once you understand the fundamentals and get your head around what’s going on, the knowledge will serve you well. Don’t listen to anyone that tells you paper space is only useful for detailing 3D work — the intelligent use of model and paper space is appropriate for most of the drawings we create.
In using the model and paper space drawing environments, some initial confusion stems from the realization that there are actually three environments, rather than two, and two of them are called model space. The three environments are:
- Floating model space (Model Space, with floating viewports = TILEMODE OFF).
- Tiled model space (Model Space, with tiled viewports = TILEMODE ON).
- Paper space (Paper Space = TILEMODE OFF).
To change between these modes you can double-click on the space mode setting in the status bar, this displays TILE or PAPER, depending on the current space mode.


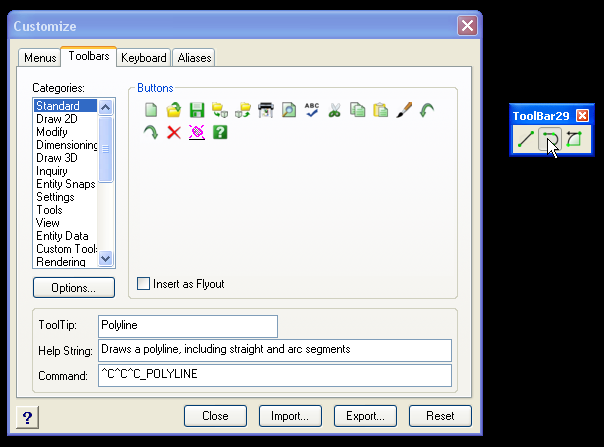
Double-clicking on this displays the Workspaces dialog box and provides you with the three choices outlined above.

To create geometry we work in tiled model space (TILEMODE ON). Paper space (TILEMODE OFF) is for the drawing border, annotations and floating viewports.
Floating model space is only required for scaling the viewports. The main benefits of using these multiple environments are as follows:
- Model geometry need only be drawn once.
- Multiple views of the same geometry can be created at different scale factors.
- Layer visibility is controlled independently for floating viewports.
- Text is added at a scale factor of 1:1 (real size) in paper space.
- Drawings are plotted at 1:1 from paper space.
- One drawing file can contain multiple drawing sheets referencing the same geometry.
 You should only ever draw anything once. Using paper space for detailing helps you to stick to this by providing the ability to create multiple views of the same part at different scale factors. This is illustrated to the right.
The first part of the process is to draw geometry at full size in model space — as you normally do. Rather than scaling up the drawing sheet and text to fit around the geometry, leave these elements for paper space. When the geometry is substantially complete, enter paper space by setting the TILEMODE variable OFF or using the dialogue box as described above.
Paper space steps
- In paper space it’s good to start out by inserting the drawing border at 1:1. If the choice of sheet proves to be incorrect, you can always insert another border later.
- Create a layer for the floating viewports. This allows the viewport borders to be turned off for plotting. General practise is to create a VPORTS layer.
- Use the MVIEW command to create the paper space viewports. This process is simply drawing rectangles to represent or drawing views. After creating the first floating viewport, this can be copied and resized using standard editing commands.
- Viewports are scaled using floating model space. From paper space you can type MS to enter floating model space and then PS to return to paper space. Notice that typing MS initiates floating model space on a single viewport, referred to as the active view. Click on any viewport to make it active and then type Z to start the ZOOM command.
- The ZOOM command has an XP option that is used to scale viewports in floating model space. Typing ZOOM and then 1XP, for example, scales the viewport at 1:1. Similarly, you can type 1/2XP or 0.5XP to scale the viewport at 1:2; for 1:100 you can use 1/100XP or 0.01XP.
- Return to paper space (by typing PS) and turn off or freeze the VPORTS layer created in step 2. Notice that you can still change between paper space and floating model space.
- Add notes at full size (1:1) in paper space and notice that text can be placed over viewports.
- Print from paper space using a user defined scale factor of 1=1.
That’s all you need to know to get started.


